Planning Home Theatre Wiring: Home Theater Wiring Tips for a Seamless Setup
- Allen Daniels
- Jan 26
- 3 min read
Setting up a home theatre system is exciting. The picture, sound, and overall experience can transform your living space. However, wiring the system correctly is crucial. Poor wiring can lead to signal loss, interference, and a cluttered room. I want to share practical advice on planning your home theatre wiring. This guide helps you avoid common mistakes and ensures your system performs at its best.
Understanding Your Home Theatre Wiring Needs
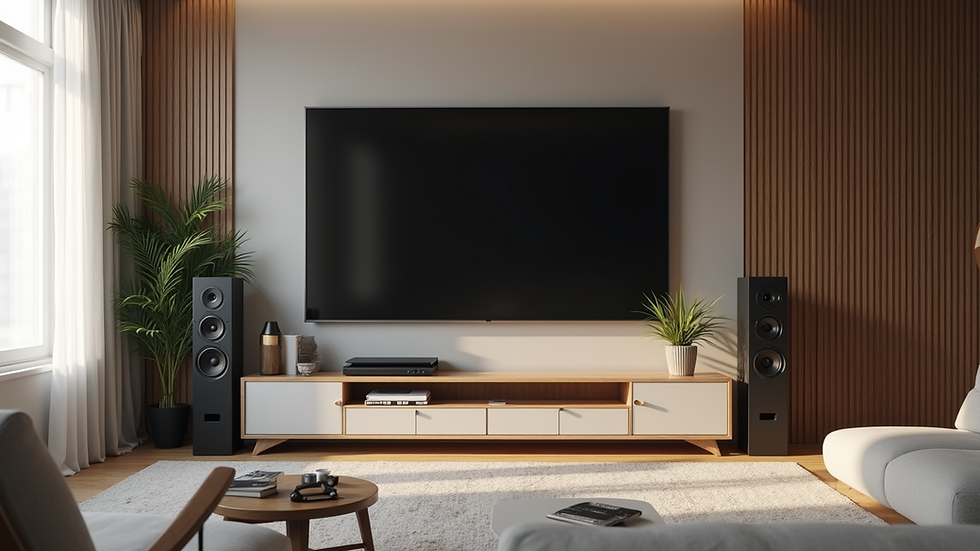
Before buying cables or drilling holes, assess your system’s requirements. Consider the components you plan to include: a TV or projector, speakers, subwoofers, a receiver, gaming consoles, and streaming devices. Each device needs power and signal connections.
Start by sketching your room layout. Mark where each component will sit. Think about speaker placement for surround sound. This step helps determine cable lengths and types. For example, speaker wires need to be long enough to reach from the receiver to each speaker without tension.
Also, consider future upgrades. Plan extra conduits or cable paths to add devices later without rewiring the entire system. This foresight saves time and money.
Home Theater Wiring Tips: Choosing the Right Cables and Paths
Selecting the right cables is essential. Use high-quality cables designed for audio and video signals. For video, HDMI cables are standard. Choose cables that support 4K or higher resolutions if you want the best picture quality.
For audio, speaker wire gauge matters. Thicker wires (lower gauge numbers) carry signals better over long distances. For runs under 25 feet, 16-gauge wire is usually fine. For longer runs, 14-gauge or 12-gauge wire is better.
Plan cable paths carefully. Avoid running cables parallel to electrical wiring to reduce interference. Use cable conduits or raceways inside walls or baseboards to keep wires organized and protected.
Label each cable at both ends. This simple step makes troubleshooting easier later. Use color-coded labels or tags to identify cables by function, such as “Front Left Speaker” or “HDMI 1”.

Installing Wiring for Speakers and Power
Speaker wiring requires attention to detail. Run speaker wires through walls or ceilings to keep them hidden. Use in-wall rated cables for safety and compliance with building codes.
When connecting speakers, maintain correct polarity. The positive terminal on the receiver should connect to the positive terminal on the speaker. Reversing polarity can cause sound issues.
Power outlets should be placed near your equipment. Consider installing dedicated circuits for your home theatre to avoid overloading existing outlets. Use surge protectors to protect your devices from power spikes.
If you plan to use motorized screens or lighting, include wiring for these controls. Low-voltage wiring for automation systems can run alongside speaker and video cables but keep them separate from power lines.
Integrating Smart Home Automation with Your Wiring
Smart home automation adds convenience and control to your home theatre. You can control lighting, sound, and video with a single remote or smartphone app.
Plan wiring for automation devices early. This includes Ethernet cables for network connections and low-voltage wiring for control systems. Use Cat6 or higher Ethernet cables for reliable, high-speed connections.
Place network switches and hubs near your home theatre equipment. This centralizes control and reduces cable clutter.
Consider wireless options for some devices, but remember that wired connections are more stable and faster. A hybrid approach often works best.
For professional-grade setups, consult with experts who specialize in home theatre wiring solutions. They can design a system tailored to your needs and ensure everything works seamlessly.

Testing and Troubleshooting Your Wiring Setup
Once your wiring is installed, testing is critical. Check each connection for continuity and signal quality. Use a cable tester for speaker wires and HDMI cables.
Power on your system and test each component. Listen for sound clarity and check video quality. Look for any interference or dropouts.
If you encounter issues, retrace your wiring steps. Check for loose connections, incorrect polarity, or damaged cables. Labeling helps identify problem areas quickly.
Keep a wiring diagram and notes for future reference. This documentation is valuable if you upgrade or repair your system later.
Enhancing Your Home Theatre Experience with Proper Wiring
Proper wiring is the foundation of a great home theatre. It ensures clear sound, sharp video, and reliable control. Taking the time to plan and install wiring correctly pays off in a better viewing experience.
Remember to:
Plan your layout and cable paths carefully.
Choose the right cables and wire gauges.
Use in-wall rated cables for safety.
Label all cables clearly.
Include wiring for smart home automation.
Test your system thoroughly after installation.
By following these steps, you create a clean, efficient, and future-proof home theatre setup. Sensible HiFi helps customers in the GTA area and beyond to transform their homes with top-notch audio, video, and automation systems. Their expertise can guide you through the entire process, from planning to installation.
With the right wiring in place, your home theatre will deliver immersive entertainment for years to come.


Comments